
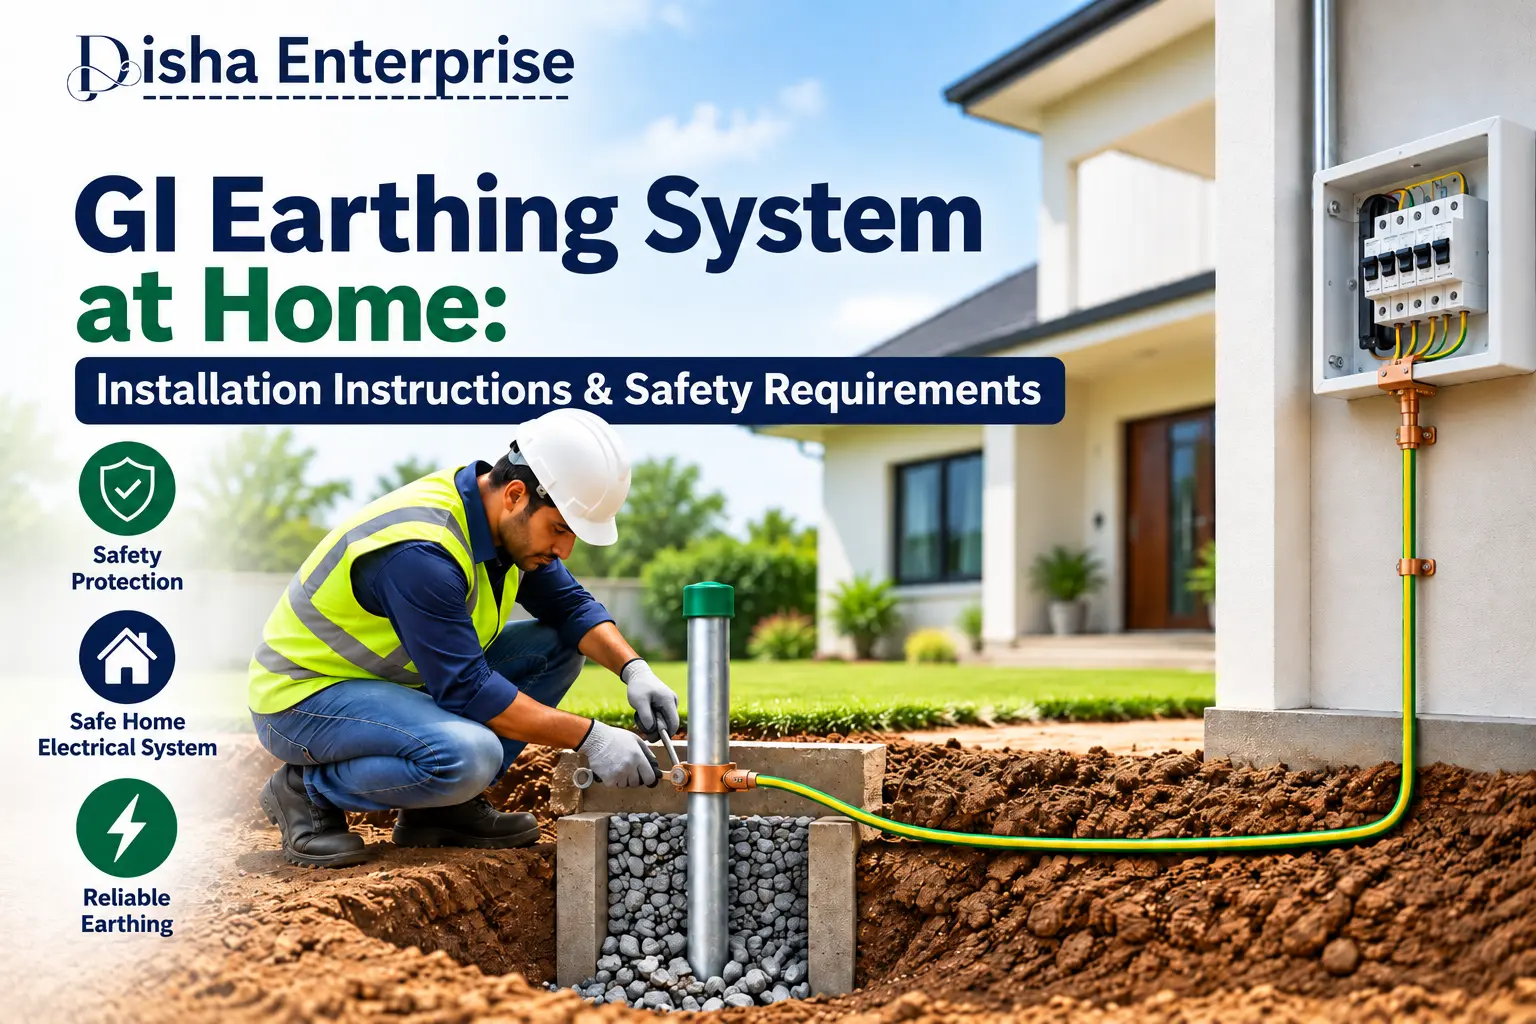
A GI earthing system keeps your home safe from electric shocks and fires. It sends extra electric current safely into the ground. Galvanized iron resists rust, so it lasts long in soil.This guide explains the parts, the steps, and the Indian standards. You will also learn how to test and maintain your setup.
Importance of a GI Earthing System for Residential Electrical Safety
A GI earthing system is important because it sends extra current safely into the ground and protects your family from shocks and fires.
A wire can get damaged at any time. Then your fridge body can turn live, and one touch can hurt you. The earthing system fixes this. It carries the extra current into the soil. Your circuit breaker trips at once. The power cuts off, and you stay safe.
- It saves you and your family from electric shocks.
- It trips the breaker fast when a fault happens.
- It shields your TV, fridge, and AC from power surges.
- It cuts down the risk of electrical fires.
- It acts as an Electrical Fault Protection System for your whole house.
- It keeps the metal body of your appliances safe to touch.
- It protects kids and elders who may touch a live part by mistake.
- It helps your wiring live longer.
- It saves you from costly repairs.
- It gives you peace of mind every day.
A good Electrical Grounding System works for your home round the clock.
Key Components Required for GI Earthing Installation at Home
You need a GI electrode or plate, a GI strip, a GI wire, and a few support parts. Each part does one clear job.
- GI Earthing Electrode: A pipe or rod that goes deep into the ground.
- GI Earthing Plate: A flat plate. It works well in dry soil.
- GI Earthing Strip: It joins the electrode to your wiring.
- GI Earthing Wire: It runs from the strip to your main distribution board.
- Earth pit cover: It shields the pit and lets you open it for checks.
- Charcoal and salt: They keep the soil around the electrode moist.
- GI nuts, bolts, and clamps: They hold the strip and wire firmly.
- Funnel and watering pipe: They help you pour water into the pit.
- Earth terminal at the main board: It takes the earth wire safely.
- Brick or concrete chamber: It keeps the pit tidy and sturdy.
- Anti-corrosion paint or tape: It stops joints from rusting.
- Earth tester: It reads the earth resistance once you finish.
Buy your galvanized iron earthing materials from a supplier you trust. Check the zinc coat before you pay. A smooth, even coat lasts longer.
How to Install a GI Earthing System in a Residential Building
You install a GI earthing system in four moves. Dig a pit. Place the GI electrode. Add charcoal and salt to the pit. Then connect the strip and wire to your main board. Always hire a licensed electrician for this work. The steps below simply show you how it goes.
- Collect your materials. Keep the electrode or plate, strip, wire, clamps, charcoal, salt, and cover ready.
- Pick the spot. Choose a place close to your main board. Stay away from walls, drains, and water pipes.
- Mark the ground. Draw a square of about 1 metre by 1 metre.
- Dig the pit. Go about 3 metres deep. Keep the walls straight.
- Check the electrode. Look at the zinc coat. Wipe off dirt and loose rust.
- Set the electrode. Place the pipe or plate in the middle of the pit. Hold it upright.
- Attach the strip. Bolt the GI strip to the electrode with strong clamps. Tighten every nut.
- Start the fill. Pour a layer of charcoal around the electrode.
- Add the salt. Spread a layer of salt on top of the charcoal.
- Keep layering. Repeat charcoal and salt in turns. Stop about one metre below the top.
- Close with soil. Fill the rest with soft soil. Press it down lightly.
- Fix the funnel pipe. Place a funnel and watering pipe near the electrode. You will use it to add water later.
- Build the chamber. Make a small brick or concrete chamber over the pit. Fit the cover.
- Link the wire. Run the GI wire from the strip to your main board. Fasten it to the earth terminal.
- Guard the joints. Apply anti-corrosion paint or tape on every joint.
Selecting the Best GI Earthing Strip and Electrode for Use at Home
Pick a GI electrode and strip that suit your soil and load. Thicker parts with a smooth zinc coat last longer.
- For most homes, use a GI pipe electrode of about 40 mm diameter.
- For dry soil, use a GI plate of about 600 mm x 600 mm.
- For connections, use a GI strip of about 25 mm x 3 mm.
- Choose parts with a smooth, even zinc coat.
- Skip anything with cracks or rough patches.
You can buy from a trusted GI earthing manufacturer like Disha Enterprises. Ask for coating thickness details and size guidance. A good supplier shares these openly. Then confirm the sizes with your electrician, because every home has different needs.
Electrical Earthing Standards for Residential Buildings in India
IS 3043 is the main earthing standard for homes in India. The Bureau of Indian Standards (BIS) publishes it. It explains electrode types, sizes, and how to install them.
Other rules apply too. Your electrician should know them well.
- The Indian code of practice for earthing is IS 3043.
- The National Electrical Code guides safe wiring in homes.
- Central Electricity Authority (CEA) safety regulations cover electrical installations.
- Your local electricity board may add its own rules.
- Use only approved and tested GI materials.
- Pick parts with a zinc coat that meets Indian standards.
- Keep your bills and test records safe.
Ask your electrician which version of the standard they follow. Rules change from time to time.
Recommended Earth Resistance for Safe Home Electrical Installations
For a home, aim for an earth resistance of about 5 ohms or less. Lower resistance sends fault current into the ground faster, so you stay safer. Many experts like an even lower number, so ask your electrician for the right target. Measure it with an earth tester. Test in dry weather as well, because dry ground pushes resistance up. If your reading is high, add more electrodes, top up the charcoal and salt, and water the pit often. A low reading keeps your electrical grounding system strong all year.
Common GI Earthing Problems and Their Prevention
Three problems show up most: high resistance, loose joints, and rust. Regular watering, tight clamps, and good galvanized parts prevent most of them.
Most trouble starts with poor soil contact or loose joints.
- High resistance: Dry soil causes it. Water the pit often.
- Loose connections: They weaken contact. Tighten clamps at every check.
- Corrosion: Rust eats metal slowly. Choose parts with a thick zinc coat.
- Broken strips: Digging near the pit often breaks them. Mark the pit area clearly.
- Poor fill material: It lowers conductivity. Refill charcoal and salt when needed.
- Damaged earth wire: Rats, wear, or cuts can snap it. Check the wire at every inspection.
- Dry pit in summer: Soil loses moisture fast. Pour water in every few weeks.
- Waterlogged pit: Too much water washes the fill away. Keep the pit away from drains.
- Poor installation: Weak joints and a shallow pit cause trouble later. Hire a licensed electrician.
Check your earthing once a year. Fix small issues early, before they turn into big faults.
Factors Affecting GI Earthing System Performance and Durability
Soil type, moisture, zinc coating, and installation quality decide how well your system works and how long it lasts.
You cannot change your soil. You can choose better materials and look after the pit.
- Soil type: Clay conducts better than sand or rock.
- Moisture: Wet soil lowers resistance. Dry soil raises it.
- Zinc coating: A thick coat fights rust for longer.
- Depth: Deeper electrodes reach moist soil.
- Climate: Heavy rain or extreme heat changes the soil.
- Installation quality: Tight joints keep resistance low.
- Material quality: Good GI parts outlast cheap ones.
- Fill material: Charcoal and salt keep the soil moist and conductive.
- Pit location: A pit near drains or walls performs poorly.
- Maintenance: Regular watering and checks keep resistance low.
Inspection and Maintenance of GI Earthing Systems at Home
Inspect your GI earthing at least once a year, ideally before the monsoon. Test the earth resistance every time.
- Open the pit cover.
- Look at the strip and clamps.
- Check for rust.
- Tighten any loose bolts.
- Pour water into the pit in summer.
- Test the earth resistance.
- Write down the reading with the date.
- Call an electrician if the reading goes up.
- Replace any part with heavy rust.
Safety Precautions for GI Earthing Installation and Testing
Switch off the main power, wear rubber gloves, and call a licensed electrician for the final connections. One small mistake can cause serious harm.
- Switch off the main power before you begin.
- Wear rubber gloves and shoes.
- Never touch live wires during a test.
- Use insulated tools.
- Keep kids and pets away from the pit.
- Never test in rain or a thunderstorm.
- Keep tools and metal items away from live parts.
- Make sure the area is dry before you work.
- Never work alone. Keep someone nearby.
- Leave the final connections to a licensed electrician.
FAQs
What are GI earthing solutions for industrial electrical installations?
They are heavy-duty GI strips, plates, and electrodes. Factories use them to handle high fault currents. Industrial Earthing Systems use the same Galvanized Iron Grounding Materials as homes, just in bigger sizes.
Which high-quality GI earthing materials suit commercial buildings?
Offices and malls use thick GI strips, plates, and electrodes with a strong zinc coat. Choose materials that meet Indian standards.
How do GI earthing systems improve electrical safety and grounding?
They send fault current into the soil. The breaker trips, and shocks stay away. They also protect your appliances from surges.
How long does a GI earthing system last?
With proper care, it lasts many years. Soil type and zinc quality affect its life.
Can I install GI earthing myself?
No. Hire a licensed electrician. Electrical faults can be dangerous.